Parts
- Charybdis Nano Kit, with RGB and Trackball, without case
- Case printed by JLCPCB with 3201PA-F Nylon (SLS). STLs available on github and on github
- A tube of Gaterons
- Cheapo XDA “Pudding” Keycaps
Building the Thing
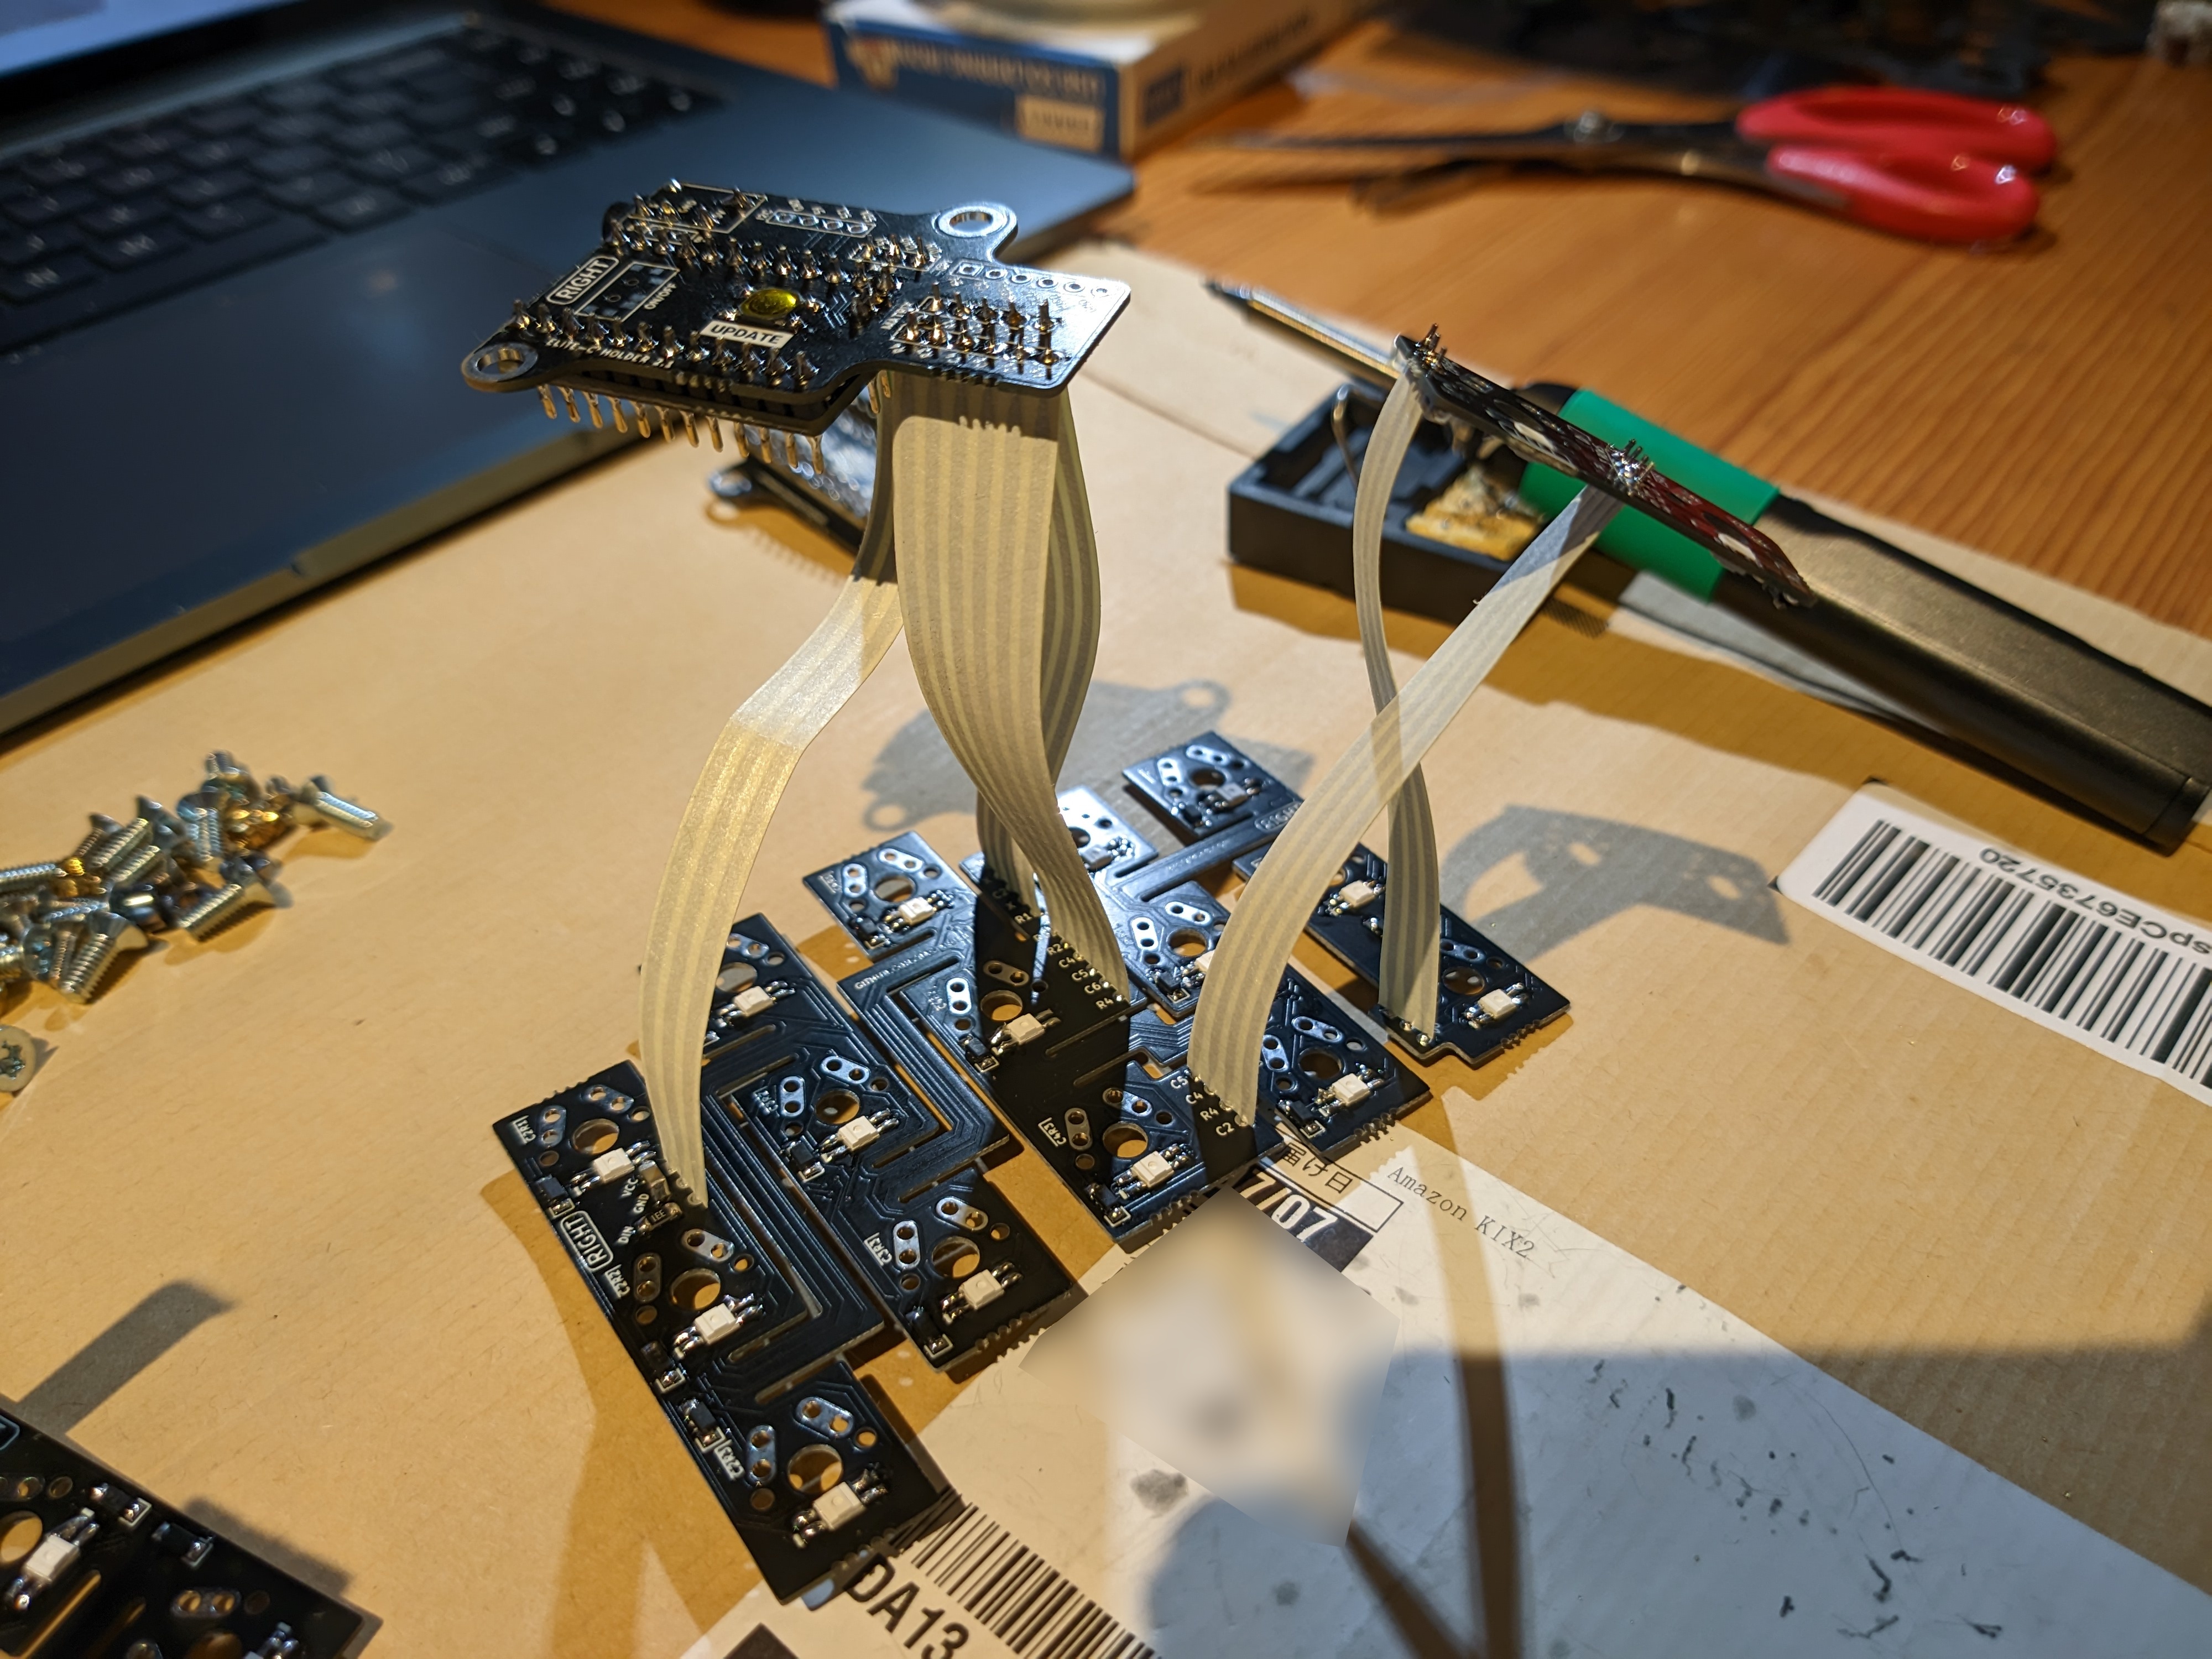
For the most part not too difficult. The ribbon cables provided in the kit are stiff, so you’ll end up with acrobatic floaty soldering in mid-air and alien tree-looking things along the way.
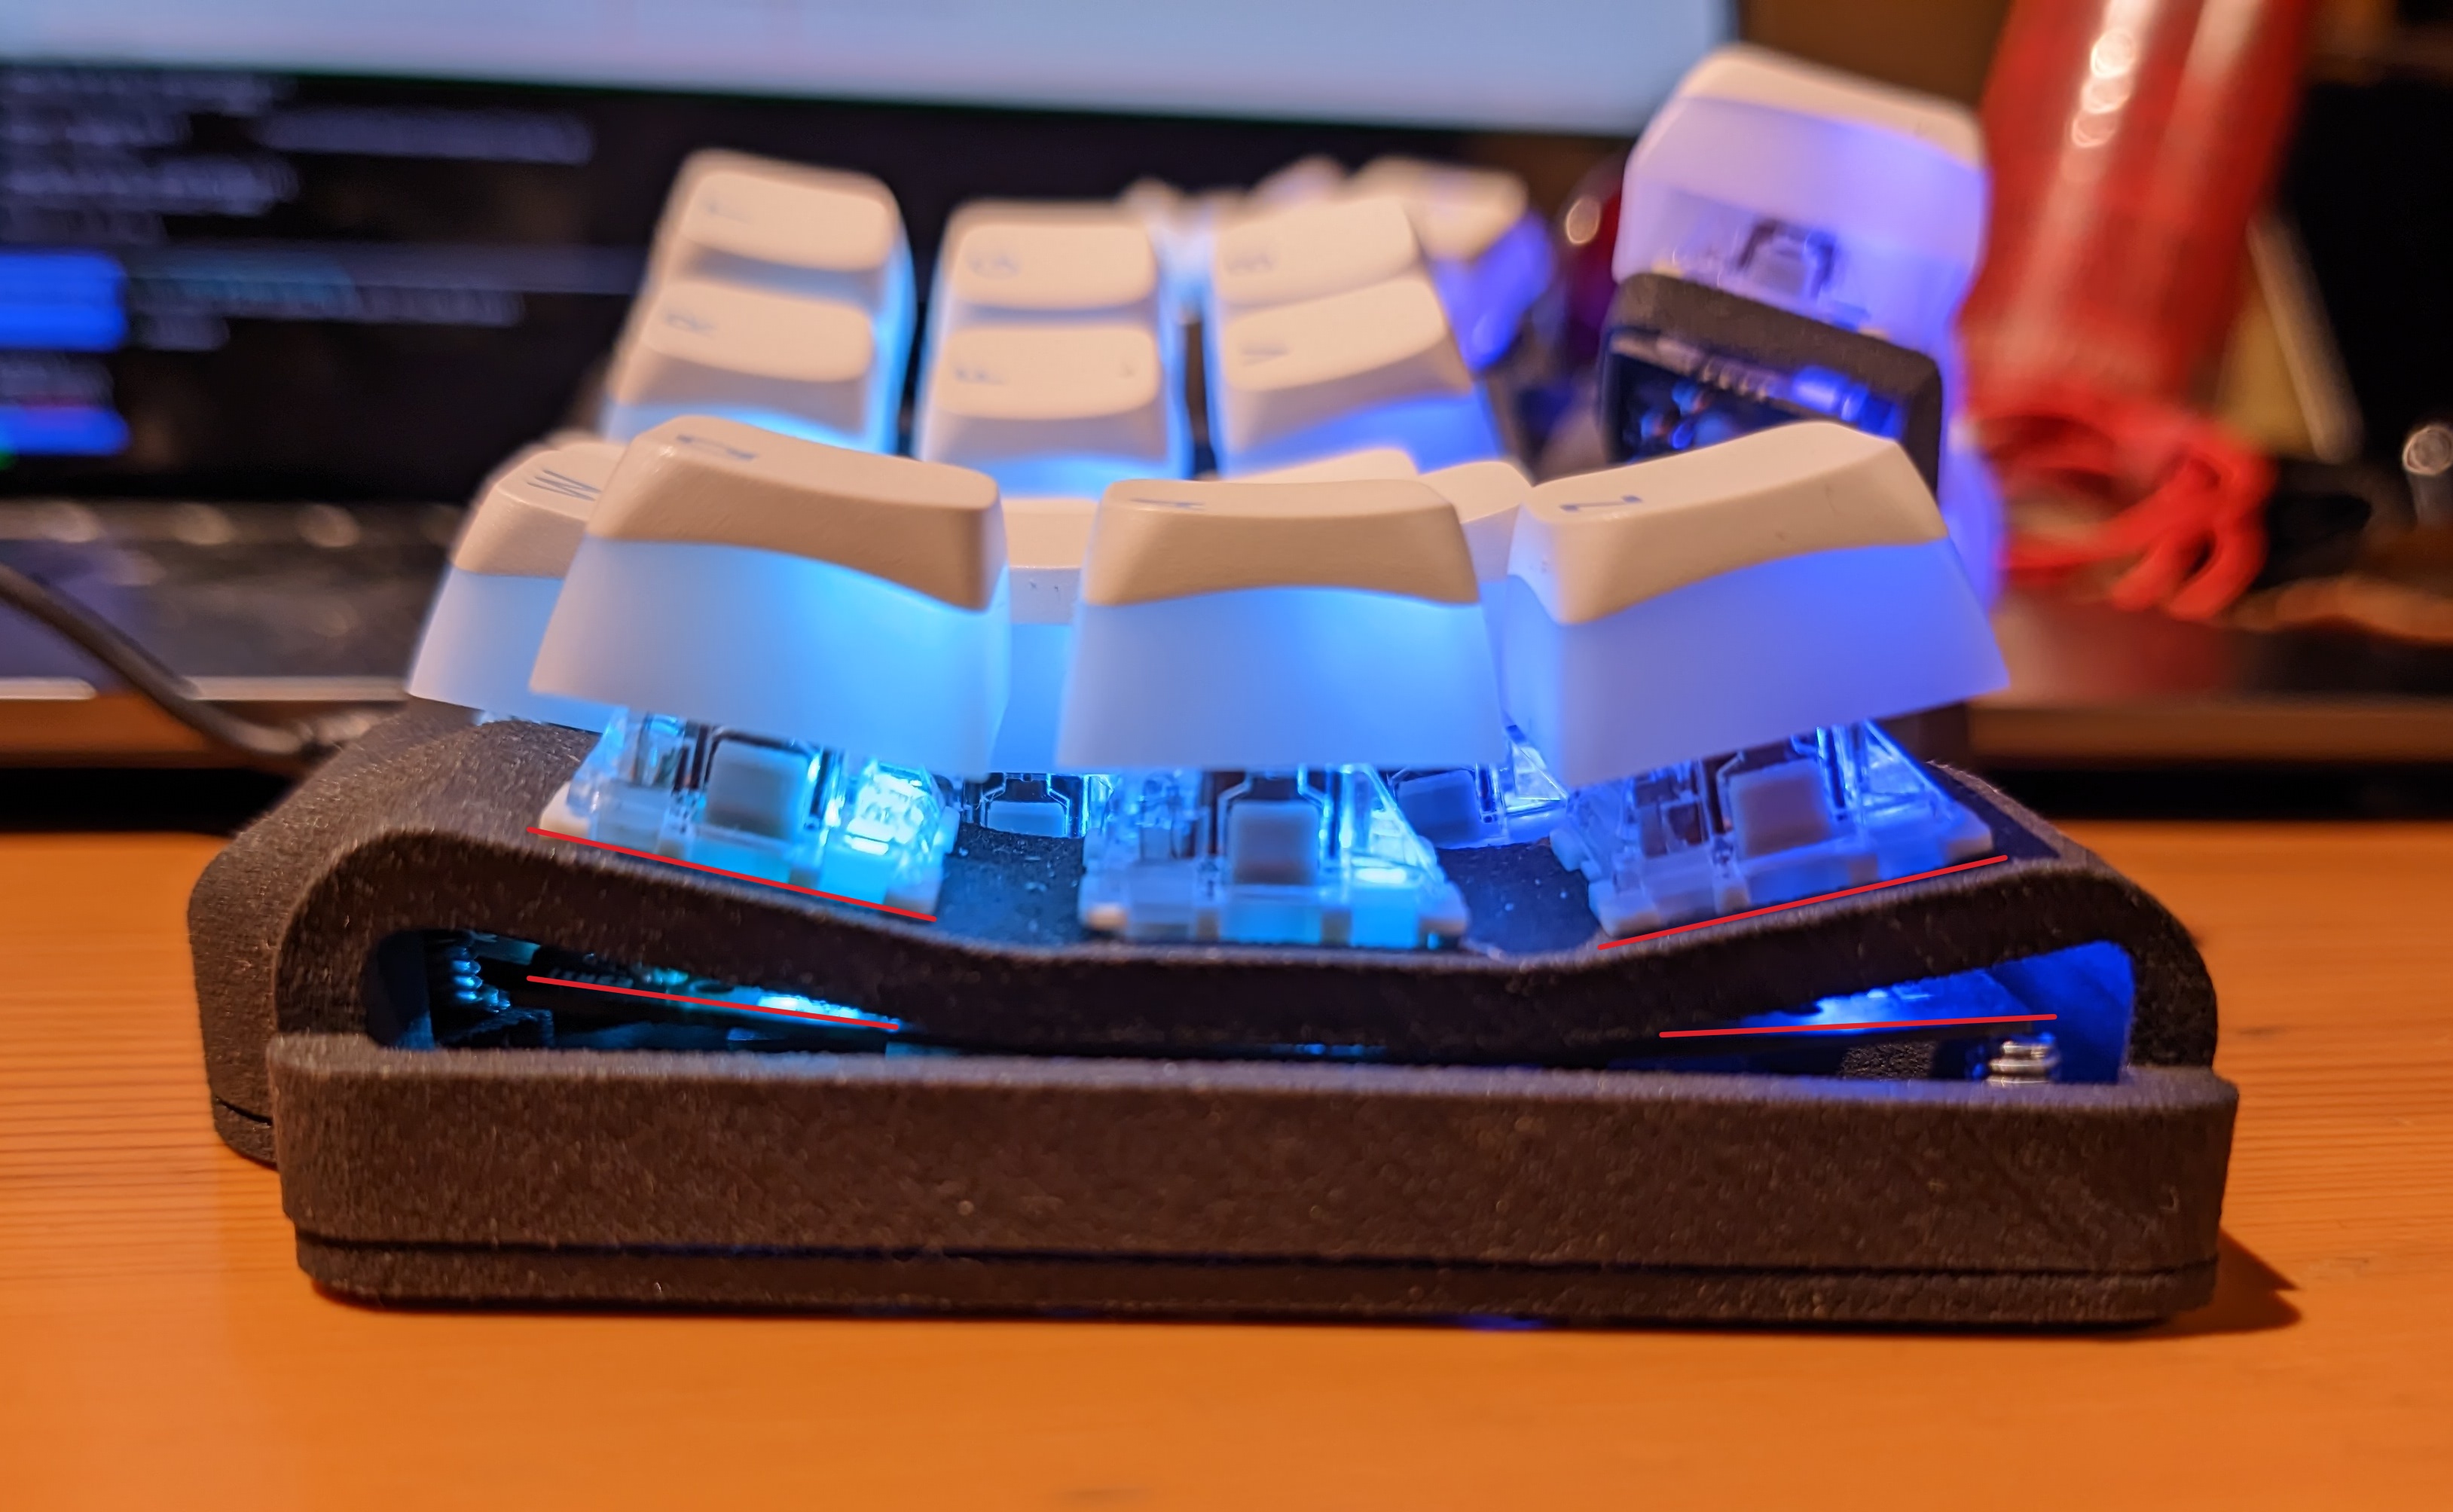
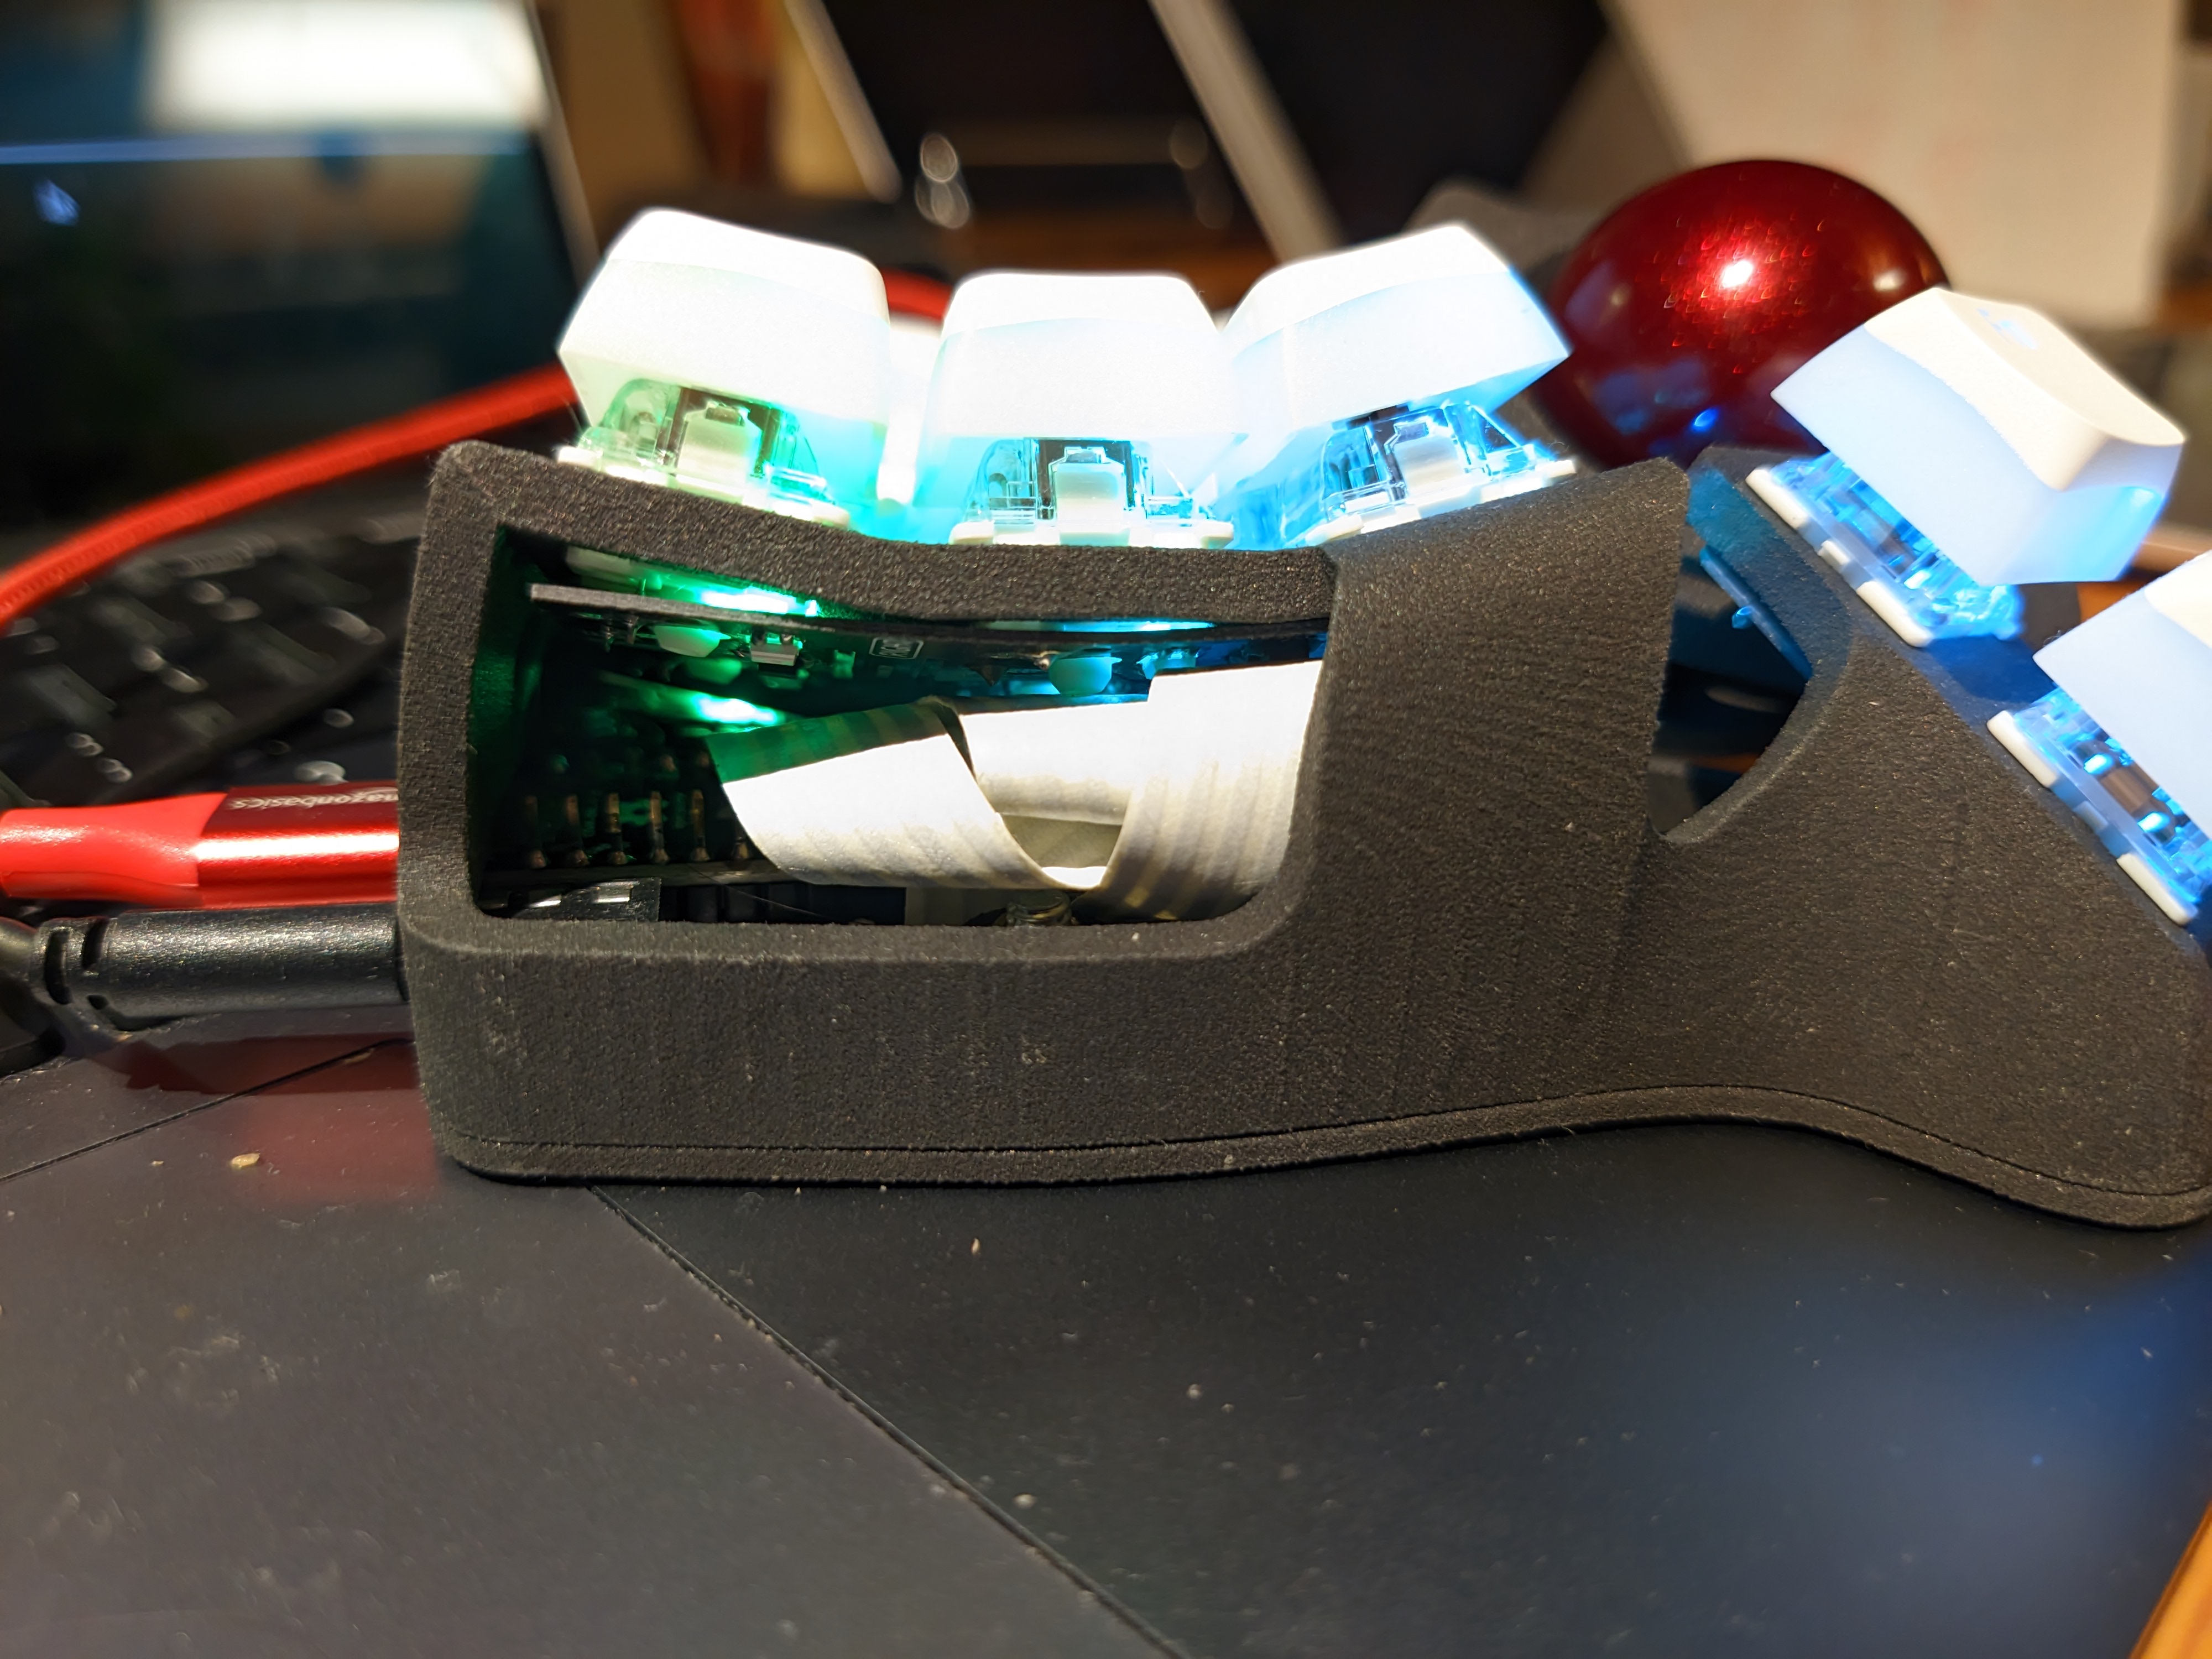
Tricky bit #1: Soldering the Switches
The PCBs need to be bent and held into place while soldering the Switches.
The PCBs are thinner than usual for this purpose.
They are however not actual flex PCBs, and kind of feel like they’re gonna snap.
Mine did not snap, but the PCBs just wouldn’t properly bend into place, or stay in place after soldering the switches.
The middle row is basically spot-on everywhere, but the top and bottom rows wouldn’t go into place and left a wedge-shaped gap between the switch and PCB.
Functionality of the switches and RGB are not affected, but something is definitely not right there.
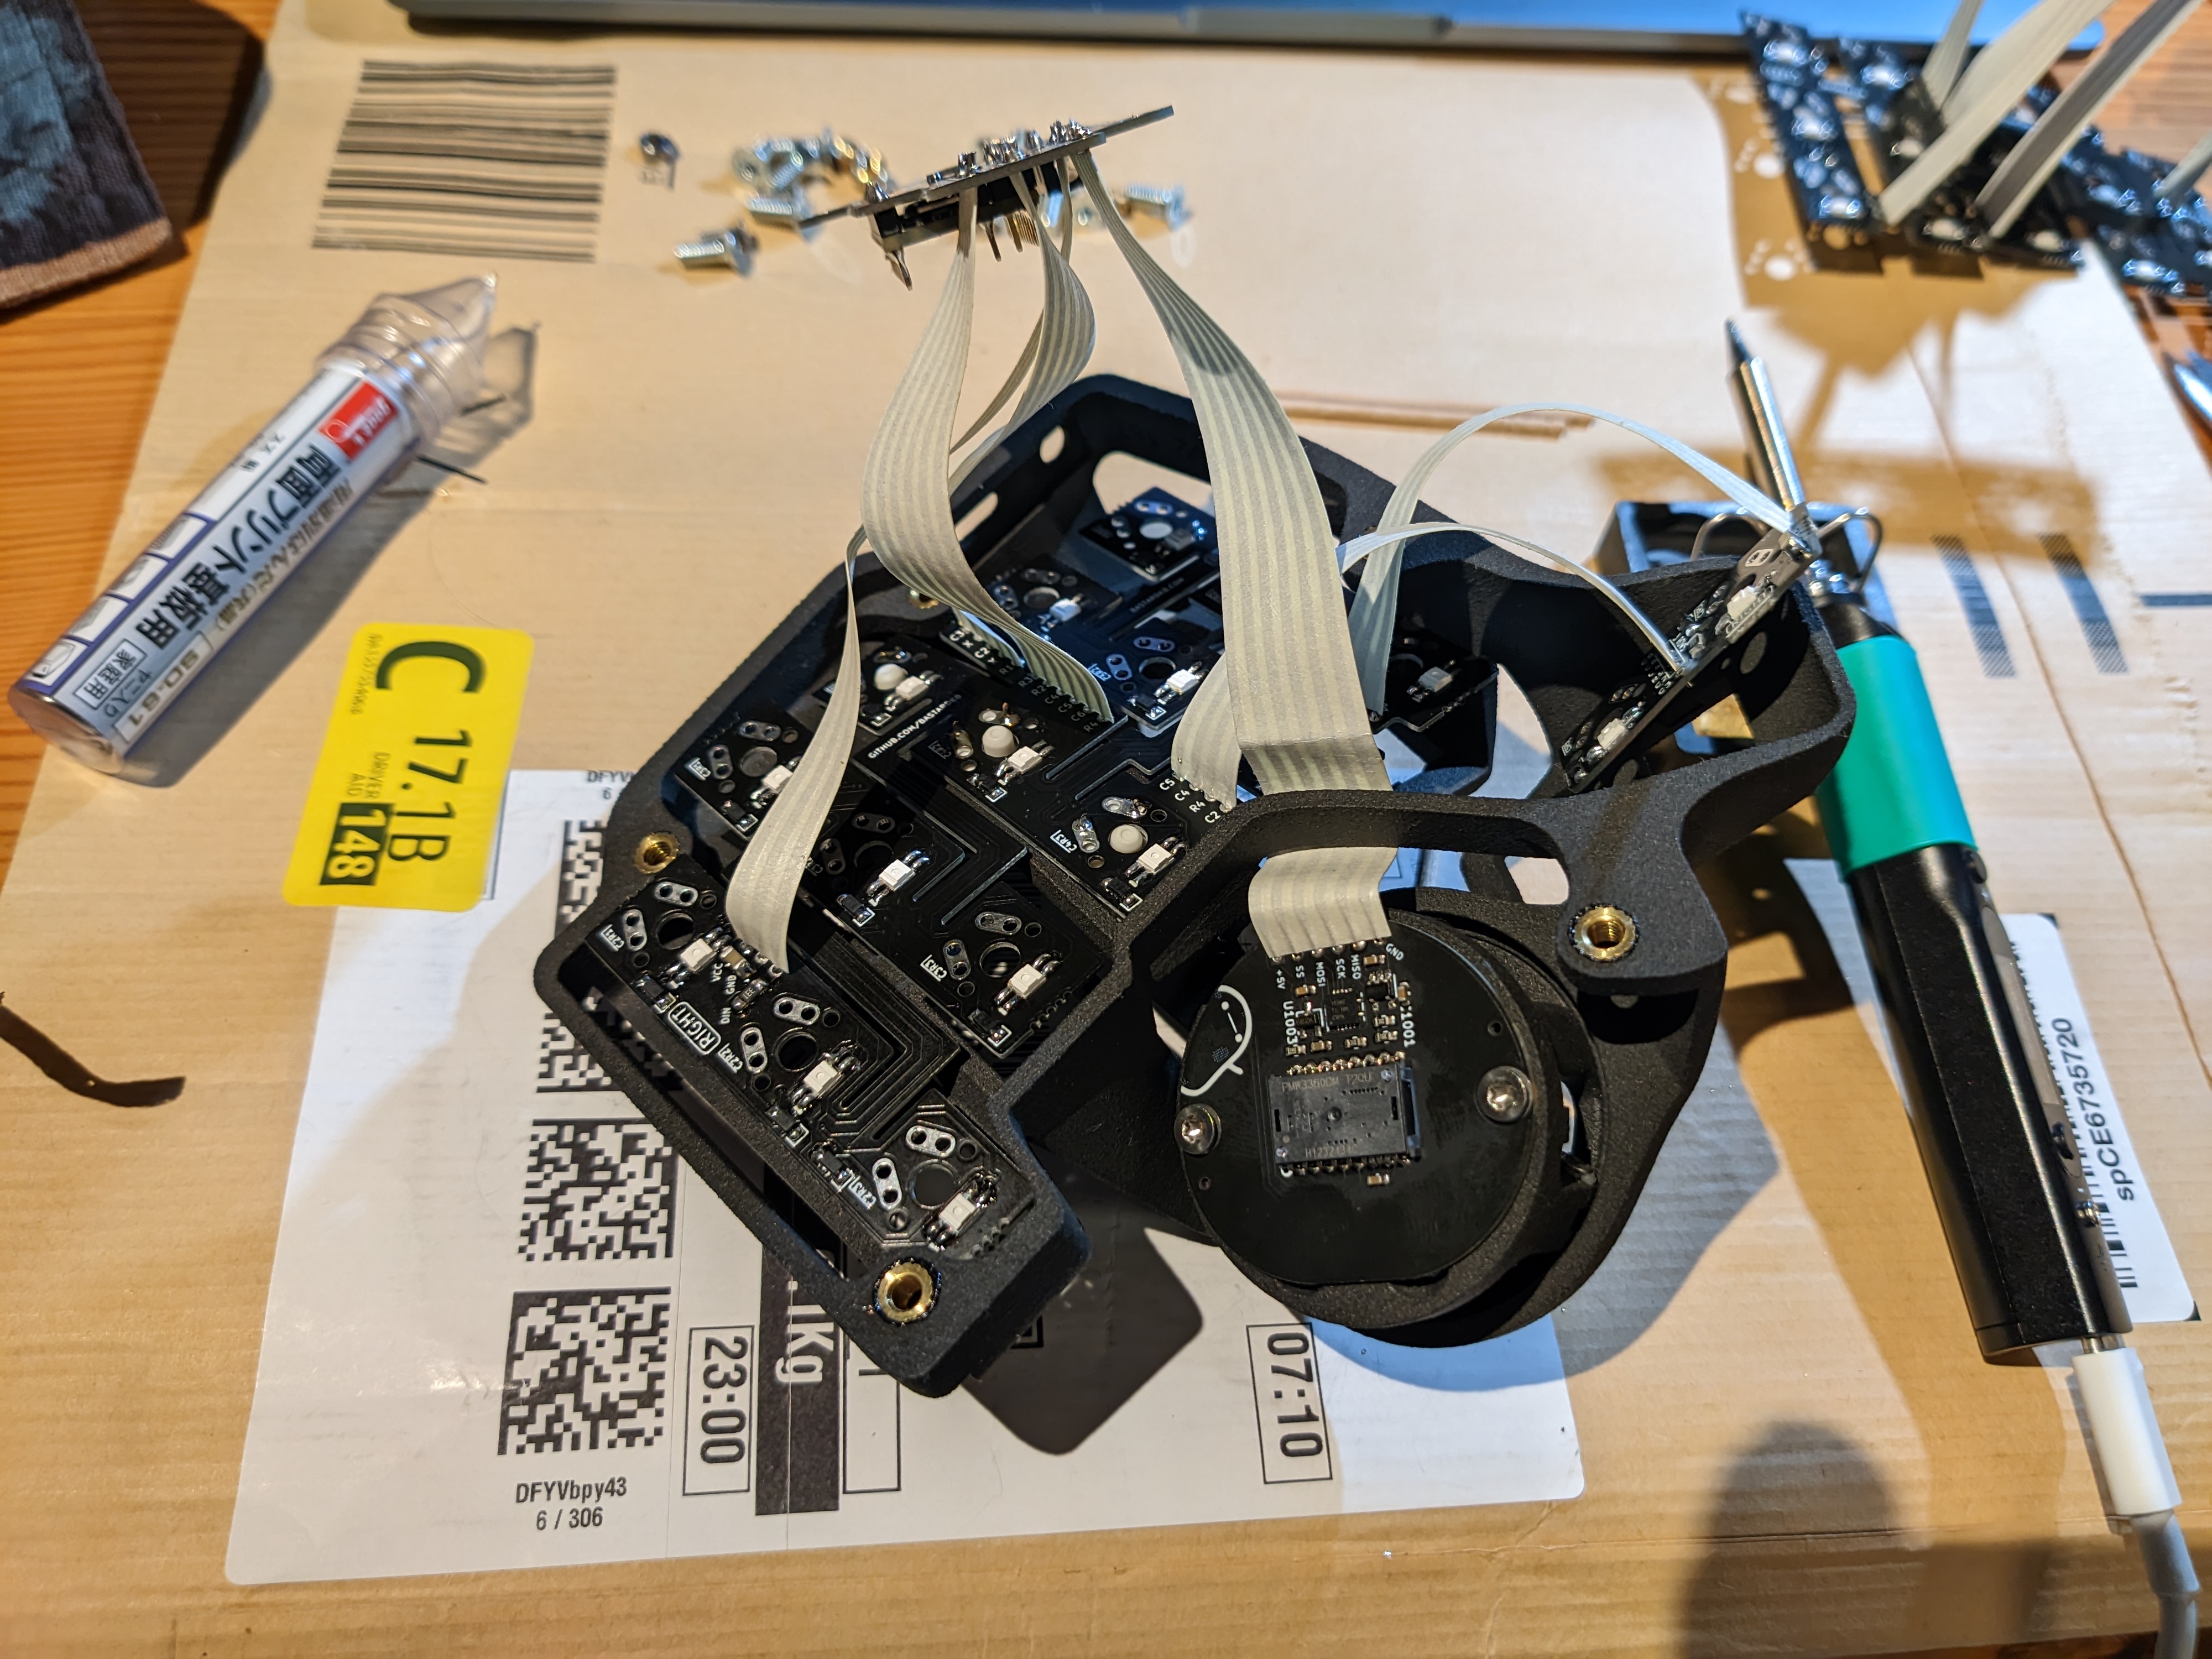
Tricky bit #2: Cables
The Cables are big and stiff and space is very limited. Getting them routed to where they need to go and all stuffed in without breaking/puncturing them anywhere is a chore.
I got weird ghosting issues just by one (possibly multiple?) switch’s pin touching one of the cables, even without actually puncturing it. So do make sure to trim everything very short and bend the cables away from any pointy component legs.
QMK
The thing runs QMK, because of course it does. Here’s my keymap/config. I haven’t the foggiest of clues about what an efficient keymap for this few keys looks like, copypaste at your own risk. The interesting bits are probably everything but the actual keymap.
Auto Mouse Layer
Using an auto_mouse_layer (a layer that automatically activates, when you move the trackball) is very convenient, but slightly troublesome on the Charybdis.
The optical sensor is very very very precise and sensitive. It will pick up tiny vibrations caused by even light typing and activate the mouse layer constantly.
This can be fixed by thresholding the activation of that layer:
static const uint16_t AUTO_MOUSE_THRESHOLD = 200;
static uint16_t auto_mouse_cum = 0;

#define ABS(n) ((n) < 0 ? -(n) : (n))
bool auto_mouse_activation(report_mouse_t mouse_report)
{
    auto_mouse_cum += ABS(mouse_report.x) + ABS(mouse_report.y) + ABS(mouse_report.h) + ABS(mouse_report.v);
    if (auto_mouse_cum > AUTO_MOUSE_THRESHOLD)
    {
        auto_mouse_cum = 0;
        return true;
    }
    return false;
}
Mouse movement itself is not influenced by this. Just the layer activation.
Scrolling with the Trackball (“Drag Scroll”)
A trackball makes an excellent scrolling device. Think touchpad two-finger scrolling, but more accurate, lower latency and more satisfying.
This can be done completely firmware-side in QMK, as documented in the QMK docs.
It will work on any PC with any OS, just like a normal mouse.
It does however behave like a scroll wheel, i.e. send very discrete “scroll a line” events, like the ticks of a scroll wheel do. But since the ball doesn’t have discrete steps, this feels very awkward. High-res scrolling is an open issue.
For linux users, libinput can be used to work around that, using its on-button scrolling feature. This does do high-res scrolling, and thus feels a lot better.
It does however mean you need to configure this on all the PCs you use.
I personally have KC_MS_BTN4 (the 4th mouse button, aka “the back button”) in my keymap, and tell libinput to use that as my scroll button.
Sway exposes this libinput feature and I have it configured like this:
input "43256:6194:Bastard_Keyboards_Charybdis_Nano_(3x5)_Splinky_Mouse" {
    natural_scroll enabled
    scroll_button 275
    scroll_method on_button_down
    scroll_factor 0.3
}
To figure out what ID a button has, use libinput debug-events
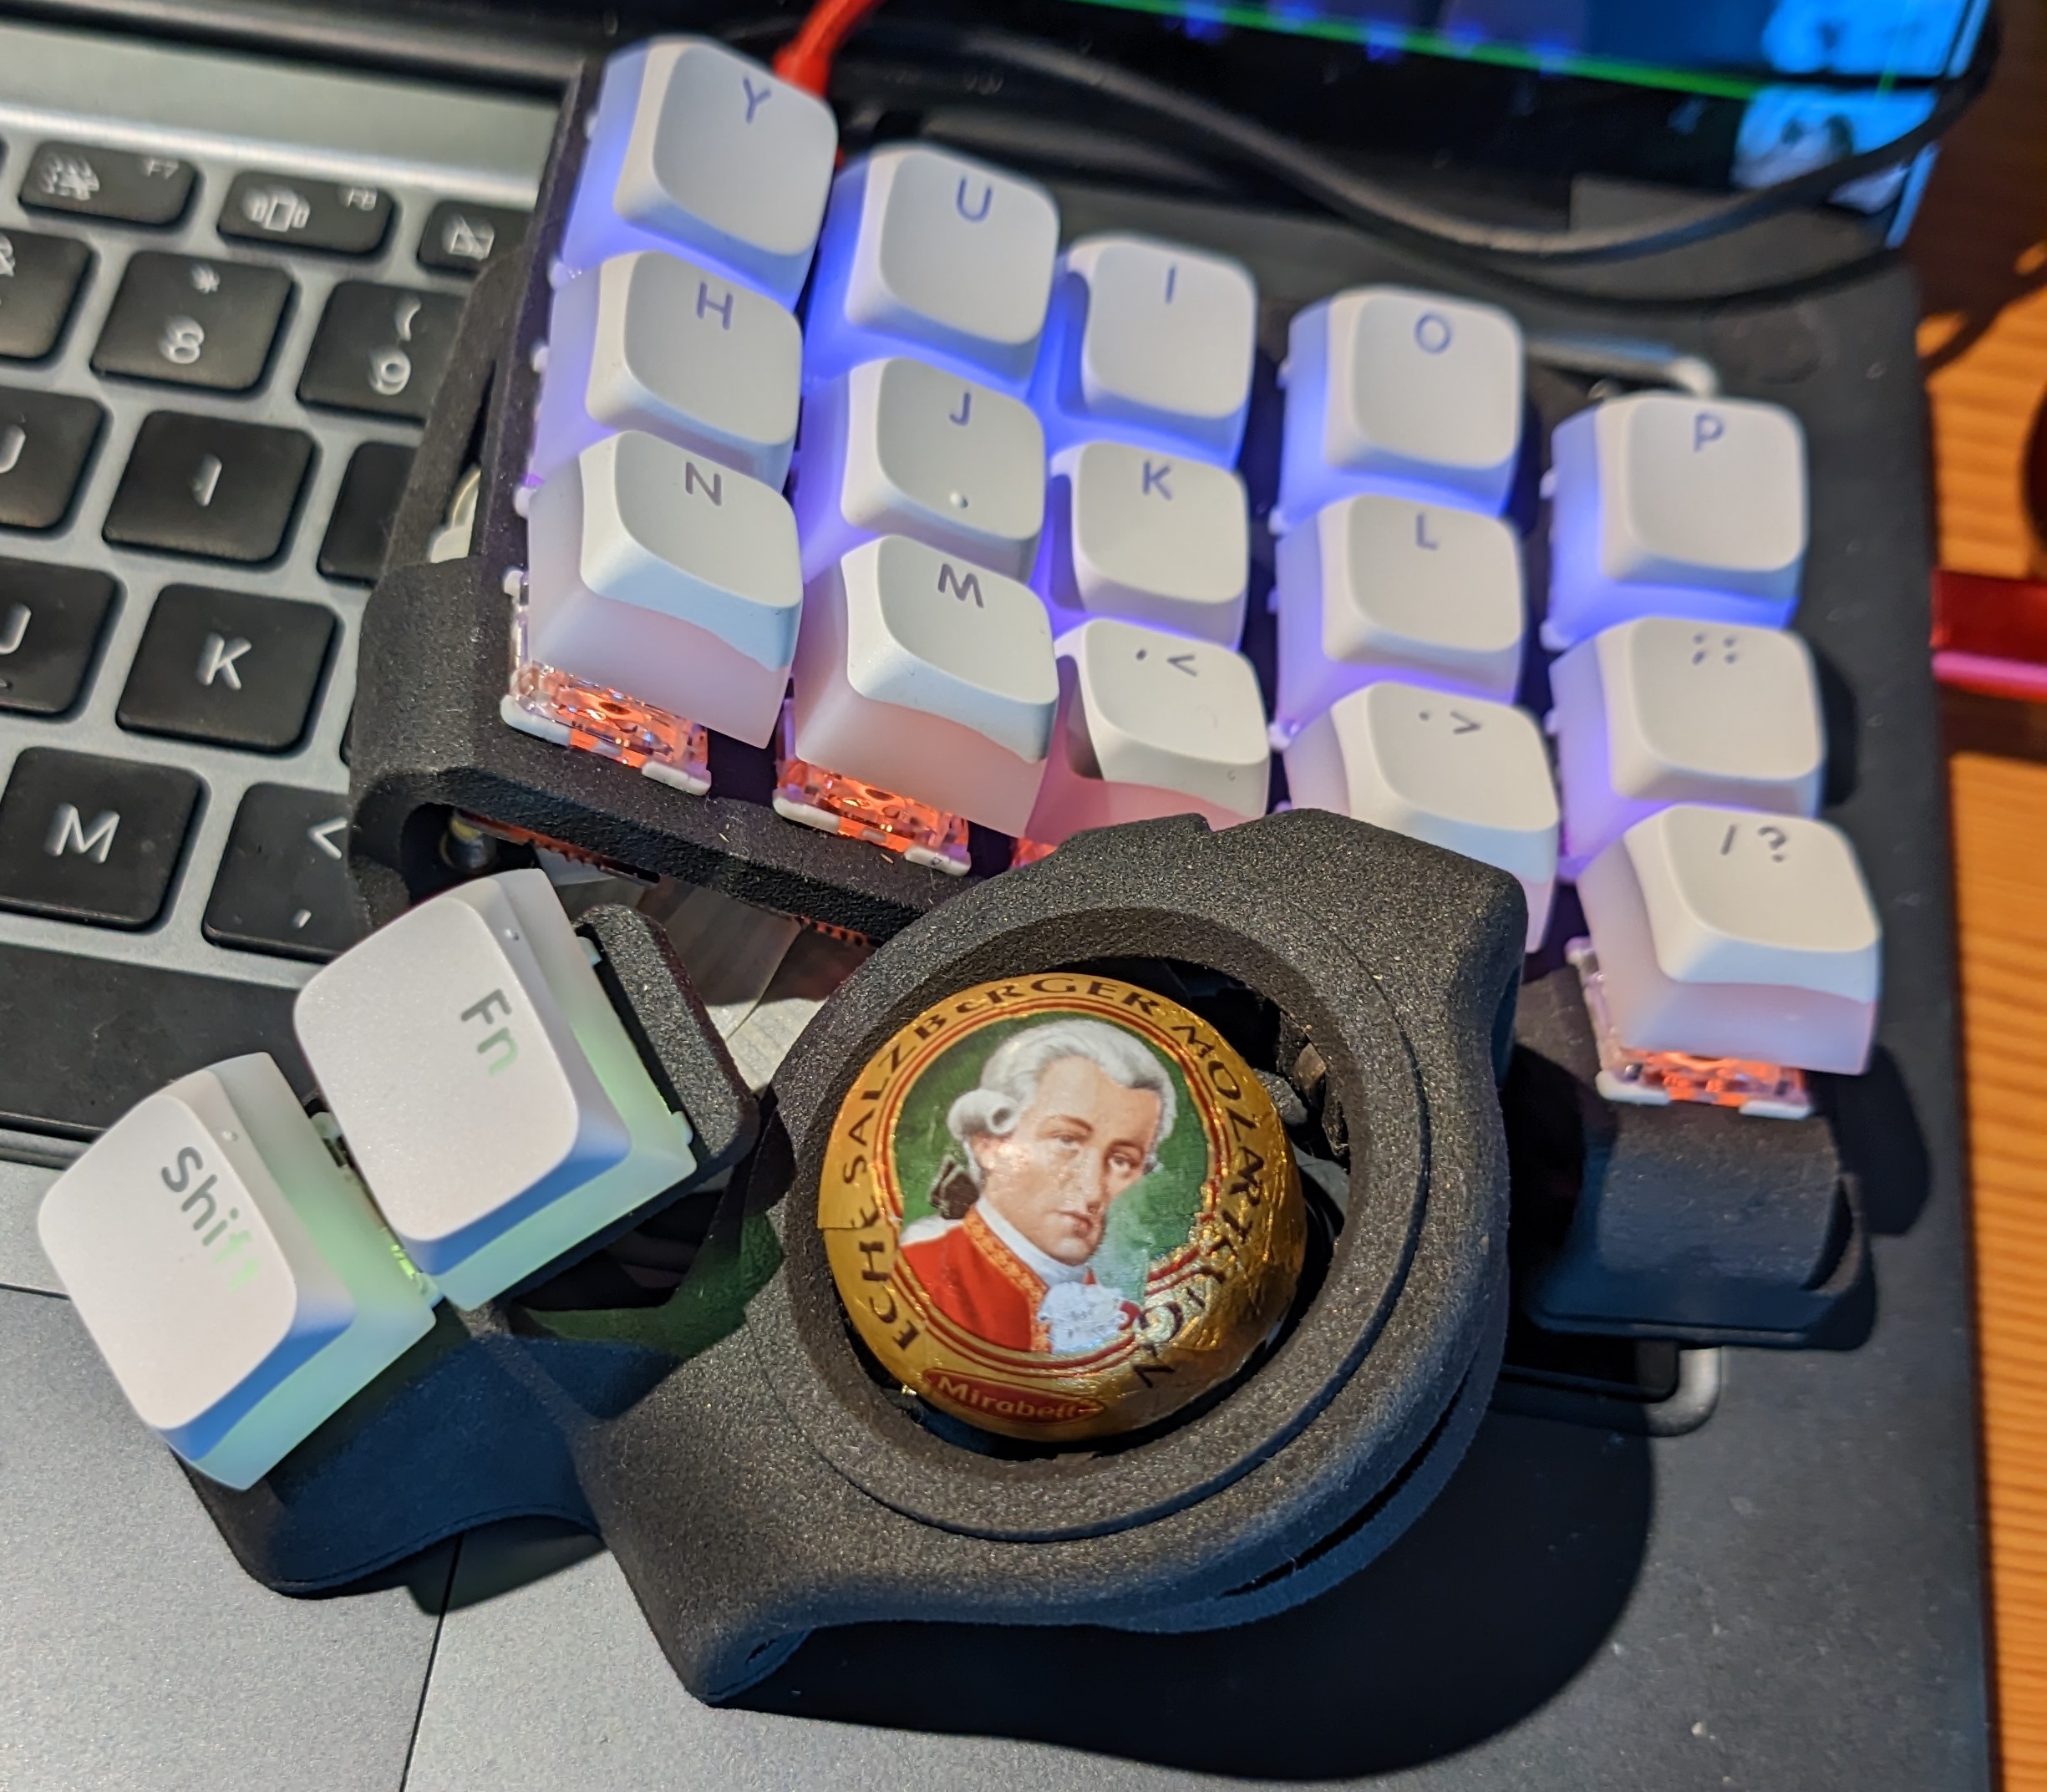
Mozart Didn’t Fit
Mozartkugeln apparently are 30mm in diameter, not 34.